
Every golfer hits that moment when they think, “Man, I wish I could play anytime I wanted.” Maybe it’s winter, maybe the local course is packed, or maybe you just want to work on your game without spending half the day at the range.
So, you start looking into golf simulators… and the price tags slap you in the face. “$10,000? $25,000?! Are you kidding me?!”
Here’s the truth: Yes, golf simulators can get expensive. But there’s also a perfect setup for almost every budget—if you know what you’re looking for.
A lot of articles just list price ranges without really telling you why certain setups cost more. This guide is different. By the time you finish reading, you’ll know exactly what you’re paying for—and what’s actually worth your money.
How Much Does a Golf Simulator Cost?
A golf simulator can run anywhere from $500 to over $50,000, depending on the accuracy, realism, and components you choose. Here’s a quick breakdown:
- Basic Setup ($500 – $3,000): Net, mat, and an entry-level launch monitor. Great for casual practice but lacks accuracy.
- Mid-Range ($3,000 – $10,000): Better tracking, a quality impact screen, and simulation software. Feels more like real golf.
- High-End ($10,000 – $25,000): Ultra-accurate launch monitors (GCQuad, GC3s, QuadMax, GCHawk), high-definition screens, and premium software.
- Commercial/Custom ($25,000+): Used by pros and teaching facilities. Ceiling-mounted tracking, fully enclosed rooms, and the most precise ball data possible.
So, what makes the price jump from $3,000 to $25,000? Let’s break it down.
What Really Determines the Cost of a Golf Simulator?
If you’ve ever wondered, “Why does one setup cost $3,000 and another $20,000?”, it comes down to five key components:
- The Launch Monitor – The most important (and expensive) part. The better the accuracy, the higher the price.
- The Enclosure & Impact Screen – A net setup is cheap; a commercial-grade enclosure isn’t.
- The Hitting Mat – The difference between a comfortable swing and a sore wrist.
- Simulator Software – Determines how realistic your courses and data feel.
- The Projector – A great screen is useless if the image looks washed out or blurry.
Let’s go deeper into each component so you know what’s worth paying for—and what isn’t.

The Launch Monitor – The Most Important (and Most Expensive) Part
If there’s one thing you shouldn’t skimp on, it’s the launch monitor. This is what tracks your shots, measures ball flight, and—on higher-end models—analyzes your club movement. Without an accurate launch monitor, your simulator experience falls apart.
A good launch monitor isn’t just about showing how far you hit the ball. It tells you why the ball is reacting the way it is. Spin rate, launch angle, and carry distance all impact your shot shape and consistency. High-end models take it further, tracking club path, face angle, and impact location—essential data if you’re serious about improving your game.
Cheaper monitors often struggle with consistency. They might misread short chips, fail to pick up spin accurately, or require specific lighting conditions. That’s why higher-quality launch monitors cost more—they provide reliable, precise data every time you swing.
Types of Launch Monitors
Not all launch monitors work the same way. They use different tracking technologies, and your setup will determine which one is best for you.
- Photometric (Camera-Based): These use high-speed cameras at impact to capture ball and club data. Best for indoor use since they don’t require much space. (Examples: GC3s, QuadMax, GCHawk.)
- Radar-Based: These track the full ball flight using Doppler radar. Best for outdoor setups but require more space indoors. (Example: Garmin Approach R50.)
- Infrared Tracking: Overhead sensors track both club and ball movement in real time. No need to place the ball in a specific spot. (Example: Foresight Sports GCHawk.)
For indoor simulators, camera-based models like the GC3s or QuadMax are the most popular because they provide accurate data without needing a ton of space.
Ball Data vs. Club Data – Do You Need Both?
Some launch monitors only track the ball, while others track both the ball and club movement.
If you’re just practicing for fun, ball data alone is fine—it tracks speed, spin, launch angle, and carry distance. But if you’re working on swing mechanics, you’ll need club data too.
For example, if your shot fades right, is it because your clubface was open, or was your swing path moving outside-in? Without club data, you’re just guessing. That’s why serious players and instructors always opt for a monitor that tracks both.

Best Launch Monitors for Every Budget
With launch monitors, price directly reflects accuracy and features. Here’s what you can expect at different price points:
- Under $5,000: Bushnell LPi ($2,799), Garmin Approach R50 ($4,999), (SkyTrak+ $2,495), (Bushnell Launch Pro $1,999) – Good for casual practice, but limited club tracking.
- $5,000 – $10,000: Foresight Sports GC3s ($3,799), (Foresight Sports GC3 $6,999), – The best value for most golfers, offering high accuracy and portability.
- $10,000 – $20,000: Foresight Sports GCQuad ($15,999), Foresight QuadMax ($19,999), Foresight GCHawk ($19,999) – Used by professionals and coaches for precise shot analysis.
For most home setups, the GC3s is the best balance of price and performance. If you’re building a professional-level simulator, the GCHawk or QuadMax provides elite-level accuracy and club tracking.

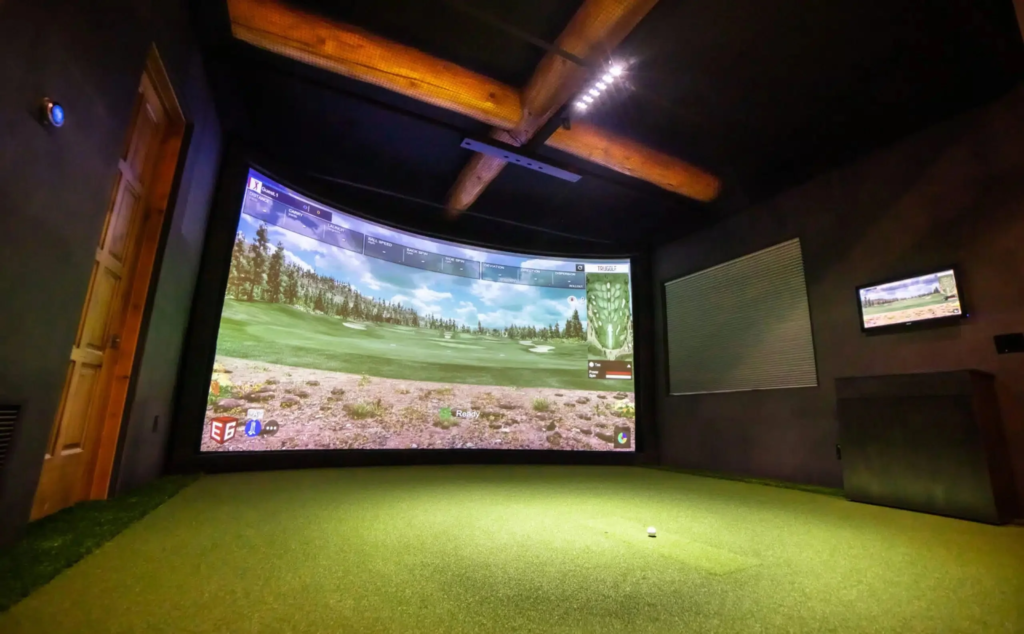
Golf Simulator Enclosure & Impact Screen – Do You Need a $10,000 Setup?
A launch monitor is what makes a golf simulator, but an enclosure and impact screen are what make it feel real. If you’re just hitting into a net, you’re missing half the experience.
At first glance, an impact screen might seem like a simple white sheet that stops the ball. But the quality of the screen and enclosure can completely change the way your simulator feels.
A cheap screen might work fine at first, but over time, the impact of the ball can cause stretching, discoloration, and even bounce-back issues—which is both annoying and potentially dangerous. A high-end screen, on the other hand, absorbs impact better, lasts longer, and displays a sharper, clearer image when using a projector.
If you’re planning to use a projector setup, investing in a quality screen is absolutely worth it.
Types of Golf Simulator Setups
Your choice comes down to three main options:
- Basic Net ($500 – $1,500): Just stops the ball. No screen, no projection. Best for budget setups or outdoor use.
- Standard Impact Screen ($1,000 – $3,000): Works with any projector. Good durability, but lower-end models can wear out faster.
- Premium Enclosure ($3,500 – $10,000+): Full enclosure with commercial-grade screens, side barriers, and improved visuals.
If you’re serious about creating an immersive experience, a full enclosure is worth considering. Not only does it give you a true indoor golf feel, but it also protects the surrounding space from mishits.
What’s the Best Choice for Your Setup?
- If you’re just practicing ball-striking, a net setup might be all you need.
- If you want to play simulated courses, a quality impact screen will make a massive difference.
- If you’re going all-in on a home simulator, a premium enclosure is the best choice for long-term durability.
A good rule of thumb: If you’re already spending $3,000+ on a simulator setup, don’t go cheap on the impact screen. It’s one of the things you interact with the most, and a bad one will absolutely affect your experience.

Golf Mats – The Difference Between a Comfortable Swing and a Sore Wrist
If you’ve ever hit off a hard, unforgiving range mat, you already know how important a good hitting surface is. A cheap mat can feel like hitting off concrete, leading to wrist, elbow, and even back pain over time. On the other hand, a high-quality mat absorbs impact better, mimics real grass, and lasts much longer.
Most people focus on the launch monitor and impact screen, but your mat is where every shot starts. A poor-quality mat can:
- Give you a false sense of ball-striking – Some mats are too forgiving, meaning you can hit slightly fat shots and still get good results.
- Be too firm or thin – If a mat doesn’t have enough cushion, it can put stress on your joints.
- Wear out quickly – Cheaper mats tend to lose their turf quality fast, leading to inconsistent lies and poor feedback.
Types of Golf Simulator Mats
There are three main levels of golf mats:
- Budget Mats ($300 – $800): Thin turf, little shock absorption, tough on the wrists.
- Mid-Range Mats ($800 – $1,500): Better feel, better durability, and reduced impact. Good for regular practice.
- Premium Mats ($1,500+): Closest to real fairway grass. Built for high-volume use and long-term comfort.
If you plan on hitting hundreds of shots per week, going with a good mid-range or high-end mat is a smart move.
Best Golf Mats for Home Simulators
Some of the most recommended options include:
- SwingTurf Golf Mat – Soft yet realistic feel, great for long-term use.
- Fiberbuilt Golf Mat – More forgiving, built to reduce joint stress.
- TrueStrike Golf Mat – Best for realism, simulates divot-taking without harming your wrists.
What’s the Best Choice for Your Setup?
If you’re only using your simulator occasionally, a mid-range mat will do just fine. But if you’re using it several times a week, it’s worth spending a little extra for a mat that feels better, lasts longer, and protects your joints.
Simply put: If you’re building a serious golf simulator, don’t put a $300 mat in front of a $10,000 setup.
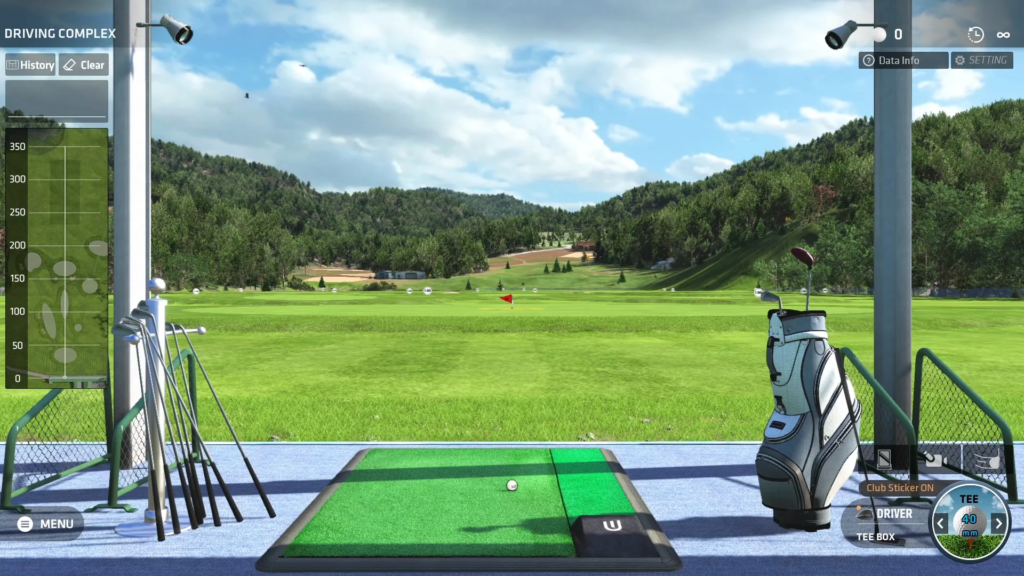
Golf Simulator Software – What Are You Really Paying For?
Your launch monitor tracks your shot, but the simulator software determines what you see on the screen. This is what brings everything to life—realistic courses, shot analysis, training modes, and online play.
Not all golf simulator software is the same. Some offer hyper-realistic course play, while others focus more on data and analytics. The right choice depends on whether you want to:
- Play famous golf courses in stunning detail.
- Analyze your swing with deep shot data for improvement.
- Compete online against other golfers.
Types of Golf Simulator Software
Most launch monitors come with a basic software package, but upgrading can make a massive difference in realism and features.
- Basic (Free – $500): Limited courses, minimal shot analysis.
- Mid-Tier ($500 – $1,500): More courses, better ball physics, and multiplayer options.
- Premium ($1,500+): Ultra-realistic graphics, massive course libraries, online tournaments, and advanced analytics.
Best Golf Simulator Software Options
- GSPro – Best overall for realistic physics, massive course selection, and online play.
- FSX Play (Foresight Sports) – Best for GC3, QuadMax, and GCHawk users, great graphics and detailed analytics.
- E6 Connect – Offers a wide variety of courses with solid visuals and gameplay options.
- The Golf Club 2019 (TGC 2019) – Strong course selection and customization options, but requires compatible hardware.
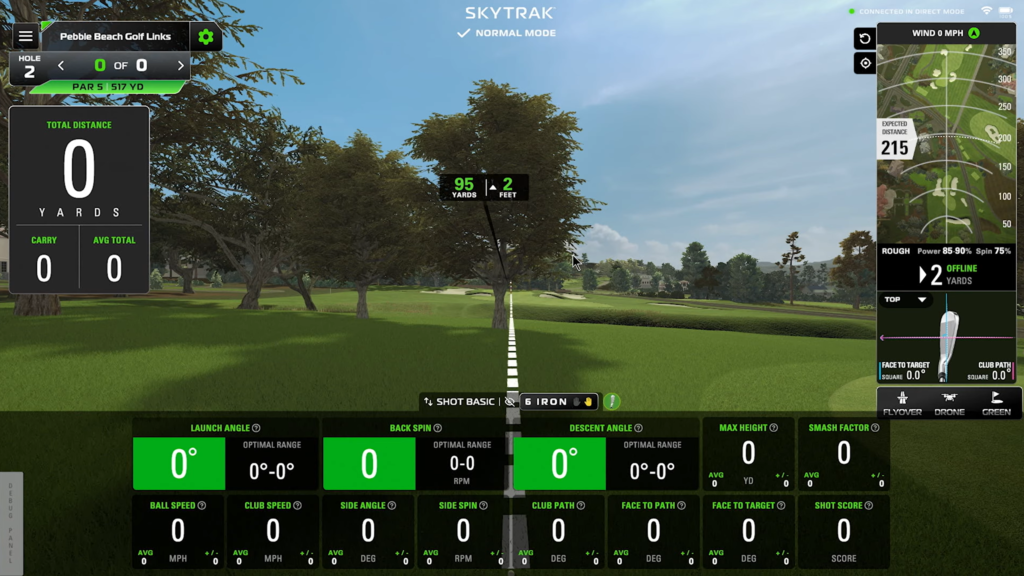
- SkyTrak – Best for SkyTrak+ users who want a budget-friendly, PC-based simulator that provides reliable ball data.
What’s the Best Choice for Your Setup?
If your focus is pure shot data and training, FSX Play or E6 Connect will serve you well. But if you want the most realistic course play and community-driven content, GSPro is hard to beat.
For those on a budget, many launch monitors come with free versions of their own software that still allow for basic gameplay. But if you’re investing thousands into your simulator, spending a little more on better software will absolutely improve the experience.
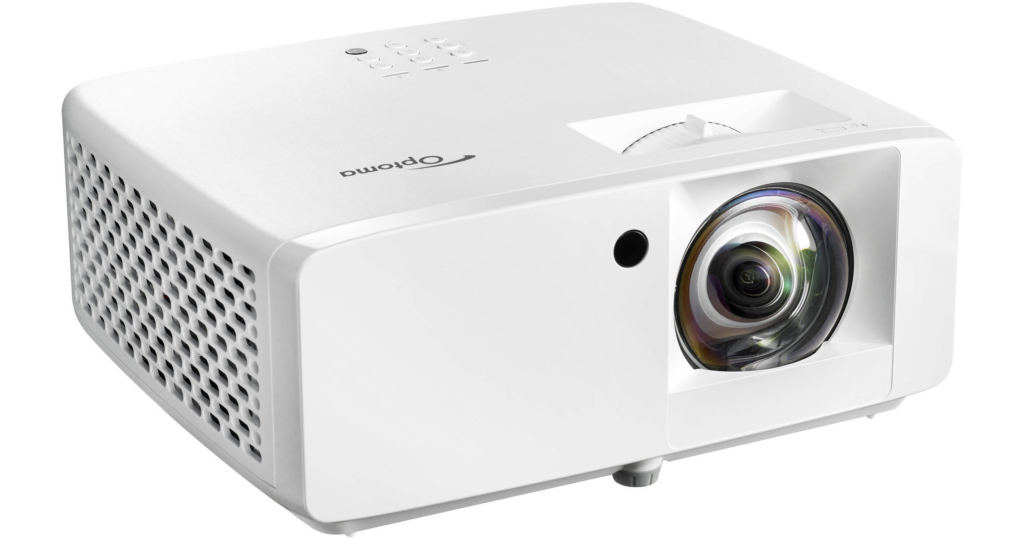
Golf Simulator Projector – Do You Really Need 4K?
A high-quality impact screen is only as good as the projector displaying the image on it. If your projector isn’t bright enough, doesn’t have the right resolution, or isn’t positioned correctly, your simulator will feel blurry, washed out, or stretched.
A golf simulator projector needs to:
- Be bright enough (so the image is clear even in well-lit rooms).
- Have the right resolution (so the visuals look sharp and realistic).
- Match your screen size (so the image isn’t distorted).
- Have the right throw ratio (so you can place it properly without shadows).
Many golfers underestimate how much a good projector improves the experience. If you’re playing on a high-quality impact screen, a great projector will make you feel like you’re actually standing on a real golf course.
What to Look for in a Golf Simulator Projector
- Resolution:
- 1080p (Full HD): Clear and detailed for most setups.
- 4K: Better visuals, but only worth it if your software supports it.
- Brightness (Lumens):
- Under 2,500 lumens: Too dim unless you’re in a dark room.
- 3,000+ lumens: Bright enough for most setups.
- 4,000+ lumens: Ideal for rooms with some ambient light.
- Throw Ratio (Distance to Screen):
- Short-Throw (0.5 – 1.0): Best for golf simulators, allows for close mounting without shadows.
- Standard-Throw (1.0+): Works if you have more space, but placement is trickier.
Best Projectors for Golf Simulators
- Budget Option ($500 – $1,500): Works, but image clarity may suffer.
- Mid-Tier ($1,500 – $3,000): Brighter, sharper image, good for most golfers.
- High-End ($3,000 – $5,000+): Best for 4K setups and commercial-level simulators.
What’s the Best Choice for Your Setup?
For most home simulators, a 1080p short-throw projector with 3,000+ lumens is the best value. If you’re building a high-end setup, upgrading to 4K with higher brightness will make the experience even better.
If you’re using a net-only setup without a screen, you don’t need a projector at all—just connect your simulator software to a TV or monitor.
So, What’s the Best Golf Simulator for Your Budget?
Now that you know what goes into a golf simulator, the next question is: What’s the best setup for your budget?
Not all golf simulators are created equal. Some are great for casual practice, while others are built for serious training or commercial use. The key is knowing what features matter at each price point so you can spend wisely without overpaying.
Below, we break down realistic expectations for different budgets, compare what you get at each level, and help you decide which simulator is right for you.
$3,000 – $5,000: Entry-Level Setup
Best for: Casual practice and small spaces
What You’re Paying For in This Range
- Basic launch monitors that track ball speed, spin, and carry distance.
- Enclosure and impact screen (if included in a package).
- Lower-end projectors (if bundled) or TV/iPad-based setups.
- Limited club data tracking.
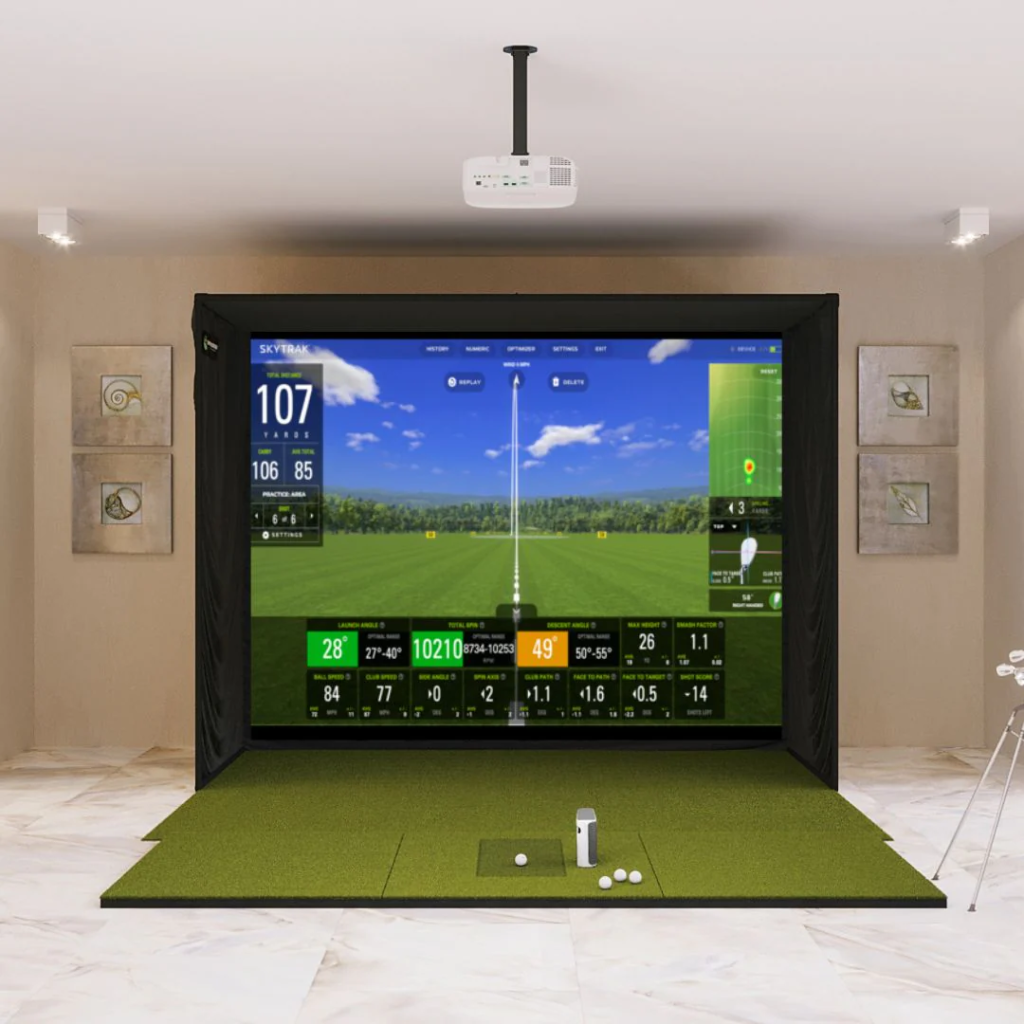
Recommended Setup:
- Launch Monitor: SkyTrak+ ($2,495)
- Full Simulator Package: SkyTrak+ SIG10 ($4,945) (Includes screen, enclosure, and projector)
- Hitting Mat: Basic or mid-range ($300 – $800)
- Software: GSPro, E6 Connect Basic, FSX Play
What to Expect:
The SkyTrak+ is a great entry-level option because it balances affordability with accuracy. Unlike cheaper models that only track ball speed and launch angle, the SkyTrak+ also measures spin rate, carry distance, and shot shape.
However, there are limitations. Shot feedback has a slight delay of about two seconds, which may not be ideal for those who need instant feedback. Additionally, it does not provide club data, meaning you will not see details like club path or face angle.
$5,000 – $10,000: The Best Value for Most Golfers
Best for: Golfers who want realistic course play and accurate tracking without overspending.
What You’re Paying For in This Range
- Launch monitors with better accuracy and club data tracking.
- Higher-quality impact screens and enclosures.
- Short-throw projectors for a more immersive experience.
- Better software compatibility (GSPro, E6 Connect, FSX Play).
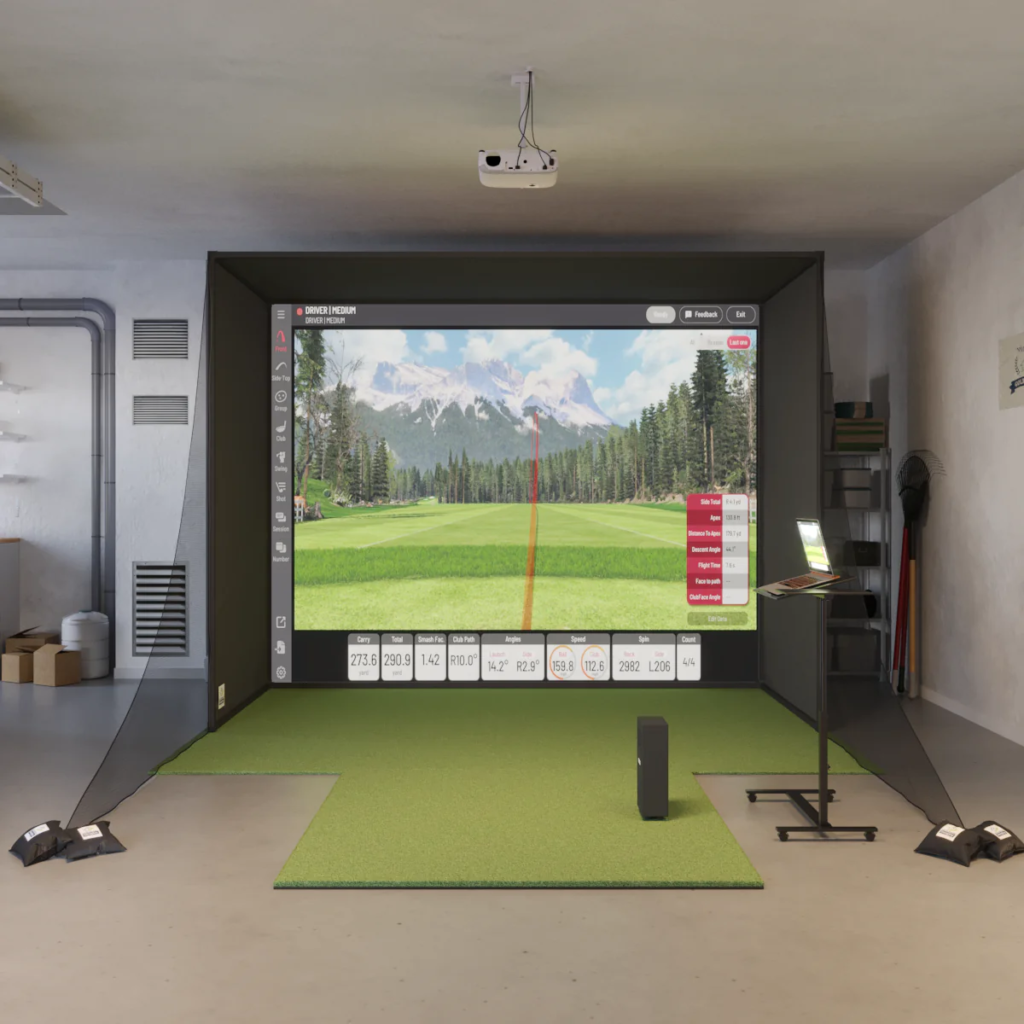
Recommended Setup:
- Launch Monitor: Uneekor EYE MINI LITE ($2,749)
- Full Simulator Package: Uneekor EYE MINI LITE SwingBay ($6,999)
- Mid-Range Hitting Mat: ($800 – $1,500)
- Short-Throw Projector: ($1,500 – $2,500)
- Software: GSPro, E6 Connect, FSX Play
What to Expect:
The Uneekor EYE MINI LITE is a major step up from entry-level models because it provides faster shot feedback and tracks more data points. Unlike SkyTrak+, it includes club data tracking, meaning you can analyze face angle, attack angle, and path movement.
This package also includes a high-quality enclosure and screen, making for a more immersive experience when playing full courses.
$10,000 – $20,000: High-End Home Simulator
Best for: Golfers who want near-professional accuracy and full immersion.
What You’re Paying For in This Range
- Elite-level launch monitors with precise ball and club data.
- Premium enclosures and impact screens.
- 4K projectors with crystal-clear visuals.
- Zero shot delay and full course realism.
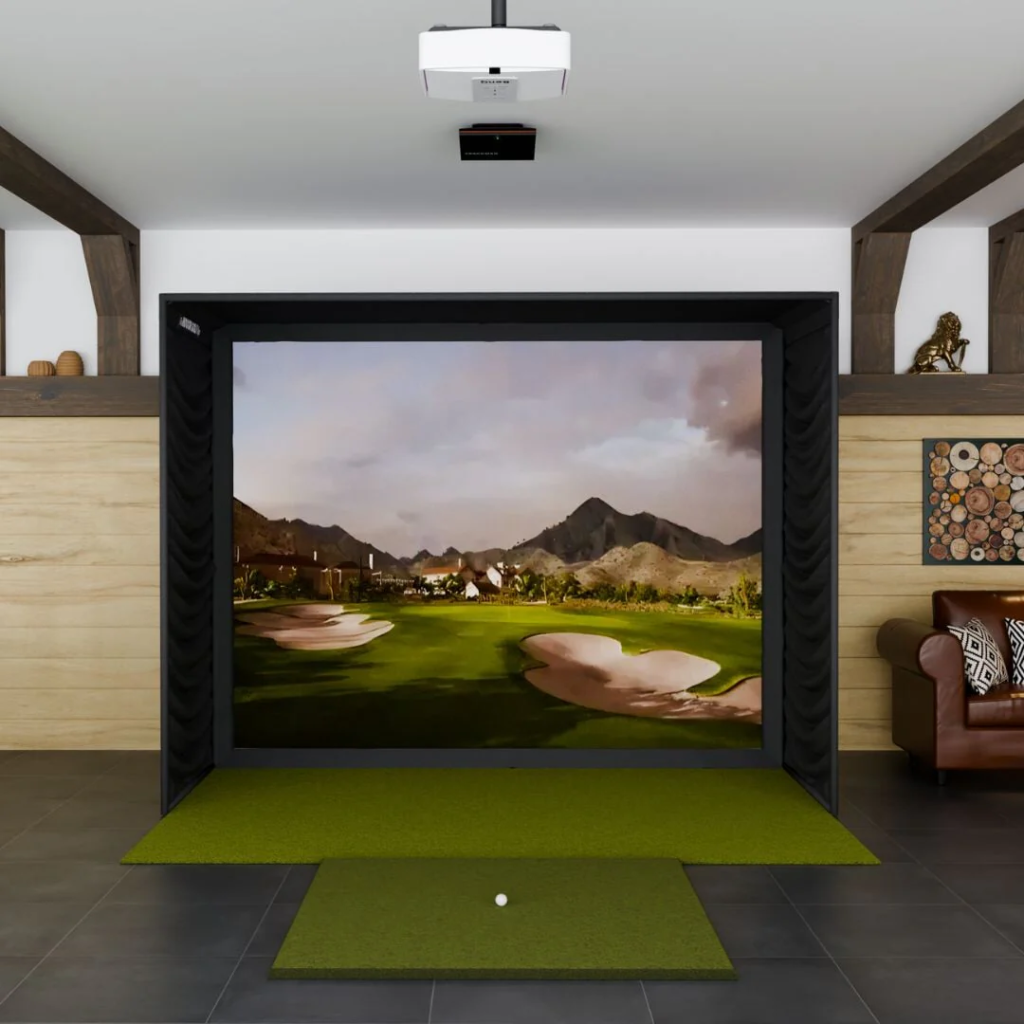
Recommended Setup:
- Launch Monitor: Trackman iO ($13,995)
- Full Simulator Package: Trackman iO SIG10 ($17,999)
- Premium Hitting Mat: ($1,500+)
- 4K Short-Throw Projector: ($3,000 – $5,000)
- Software: Trackman Virtual Golf 2, GSPro, E6 Connect
What to Expect:
Trackman iO is one of the most accurate simulators on the market, used by tour professionals and top instructors. Unlike mid-range options, it delivers real-time feedback with no lag and provides exceptional accuracy for both indoor and outdoor use.
$25,000+: The Ultimate Commercial-Grade Simulator
Best for: Pros, coaches, elite golf facilities, or luxury home installations
What You’re Paying For in This Range
- Commercial-grade tracking for the most accurate ball and club data available.
- Massive impact screens and enclosures that provide a lifelike course experience with high-definition visuals.
- Multi-sport simulation, including golf, hockey, soccer, baseball, and more.
- The most realistic graphics available, often featuring real-world course mapping.
- Professional-grade durability, built to withstand heavy use in commercial spaces.
Recommended Setup:
- Full System: HD Golf Simulator Ultimate Entertainment Package ($69,035)
- High-End Enclosure & Impact Screen: Included in the package
- Premium Hitting Mat: $1,500+
- 4K Laser Projector: $3,000 – $5,000
- Software: HD Golf’s proprietary real-world mapped courses and sports simulation
What to Expect:
The HD Golf Ultimate Entertainment Package is one of the most advanced simulators available, offering tour-level accuracy, next-generation graphics, and a fully immersive experience.
With multi-sport simulation, users can train in hockey, soccer, baseball, and football, making this a versatile investment for training centers, private golf clubs, and luxury home setups.
Final Thoughts – What Should You Actually Buy?
If you’re serious about getting a great golf simulator, invest in these three things first:
- The best launch monitor you can afford – This is the core of your setup.
- A solid impact screen and enclosure – If you’re using a projector, don’t go cheap on this.
- A high-quality hitting mat – Protects your joints and improves the feel of every shot.
From there, you can upgrade your projector, software, and enclosure over time. Now that you know exactly what you’re paying for, you can build a simulator that fits your needs without overspending.